Wednesday, May 4, 2016

Making a 3D city

I've attached a LOT of pictures to this post. Instead of writing a few long paragraphs about what we did during this project, I'm going to add captions to explain our process.

One of my all-time favorite books!! We talked about what an architect is and I explained that we would be pretending we are architects during the next weeks. We had a discussion about the types of buildings we see in our communities. They chose a building type they would want to design and then completed research to find out more about their building category.

Kindergarten research papers complete, along with preliminary sketches.

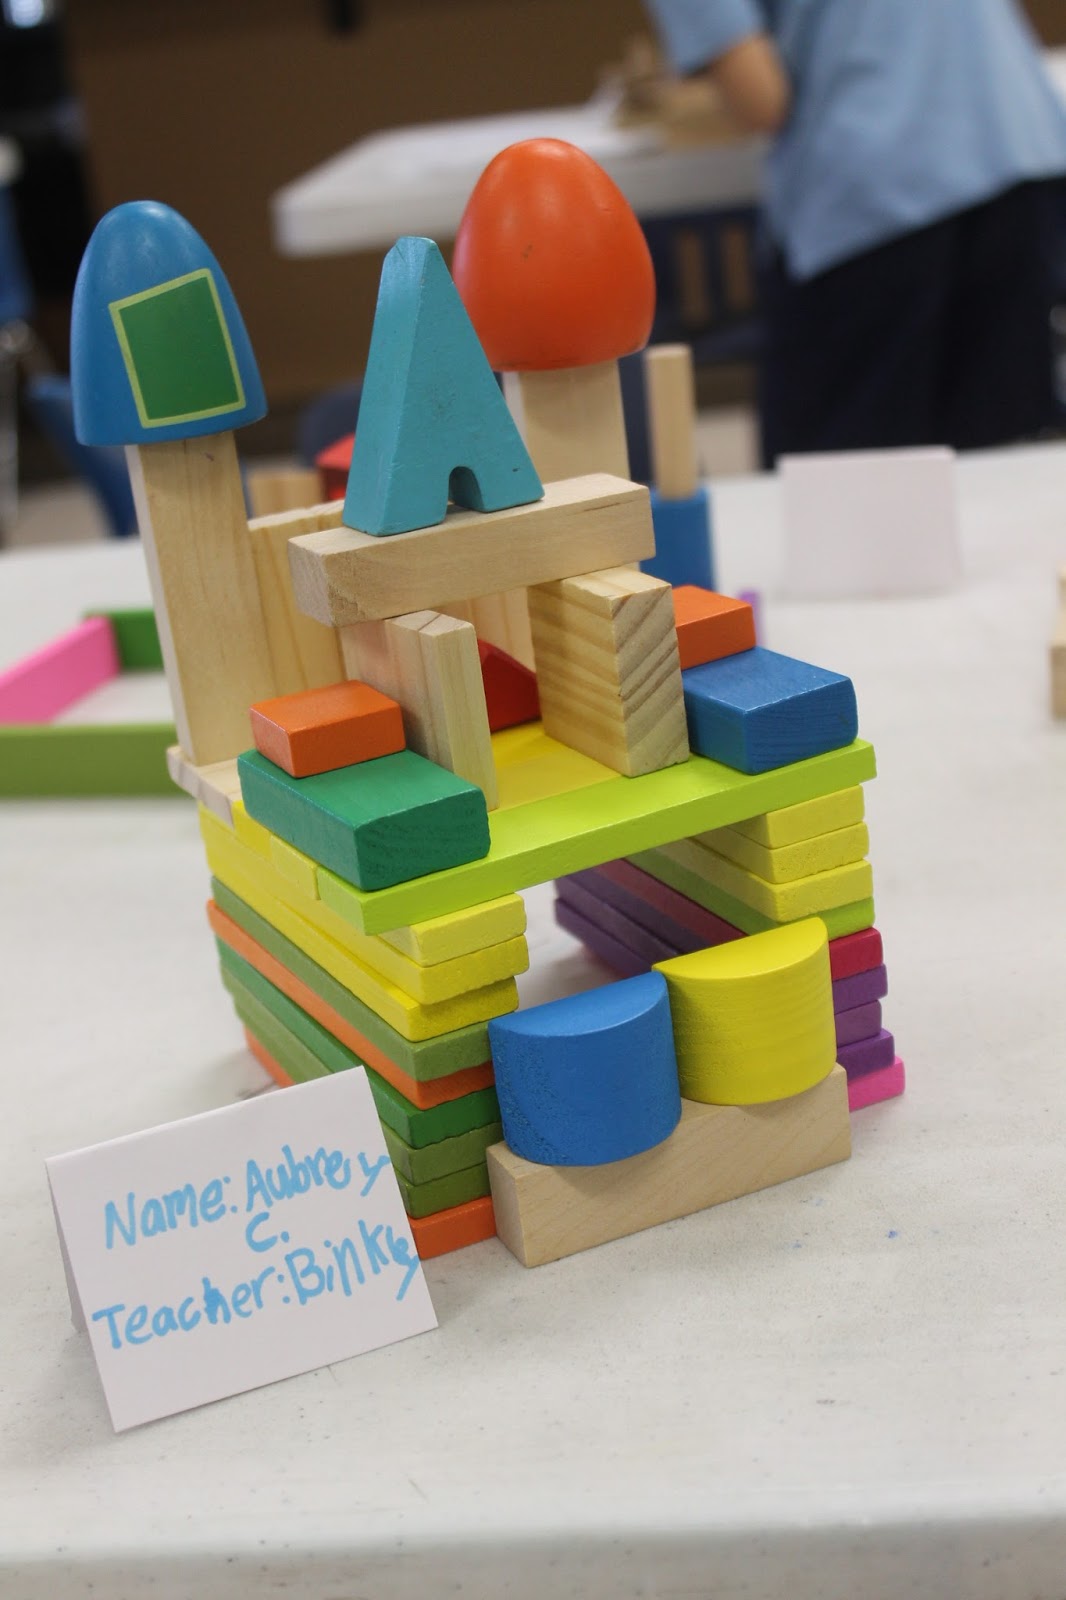
Next, we attempted to build our building out of blocks.

So cool!

I photographed each of their buildings to use for reference later.


Now we used the photographs for observational drawing. I wanted them to eliminate the background so they could focus on the building only. This was a great opportunity to talk about background, foreground and subject. They took black Sharpies and "blacked out" the entire background.

They carefully studied their building photographs and replicated what they saw in their photo.

Good stuff!!

Now we start to use what we previously learned to make our drawings 3d! They painstakingly traced their drawing first in red, then we moved the paper slightly, then they traced it again in blue. We are on our way to special effects!!


I love!!!!


Tracing is complete- let's add color! At this point they wore their glasses off and on, checking to make sure their drawing was giving them the 3d effect they desired. I loved the process of continuously checking.


I know you can't see it online but, with 3d glasses on, this looks like it is really popping out at you!


Monday, May 2, 2016

We begin 3D!!!


 I was over the moon when I found that you can buy boxes of pretty cheap 3D glasses on Amazon- who knew 3D glasses would be cost friendly for teachers?! This began a long, incredibly fruitful lesson on how to make 3D drawings. We taught the kids about how their eyes perceive 3D images (Mrs. Slats taught me about the parallax effect ;)). Then we explained how to make a drawing that will pop out when you put 3D glasses on. Using red and blue is key but, almost as important, using alternating color or pressure can really enhance the effect. Here are pictures of our first few class periods in this project when we researched and practiced making 3D images.


Painting the night- Nocturnal Animals Kindergarten painting


 Mmmmmm, I love this kindergarten lesson! Each year the kindergartners study nocturnal animals in their homeroom classes. By the time I do this lesson with them they are nocturnal animal experts! We start our lesson by going "pretend camping". I turn off the lights, set up lanterns and play nighttime noises in the background. We practice visualizing. I read them a story (Little Owl at Night) and they sketch what they visualize in their sketchbook. It's really fun!

After "camping" we launch into a few weeks of learning and practicing different painting techniques to make it look like nighttime. They look through my little library of books that are set at night. We try to figure out how the artist made it look like night, what kind of paint or materials they used, did the artist erase, did they use a resist, etc.  After these lessons the kids pick a nocturnal animal they studied in homeroom and they make a large painting portraying the animal in their nighttime environment. The idea is to use all of their background knowledge (from homeroom class and art class) to create their painting.

Pretend camping and drawing what we visualize in our art journals.


Some of the journal pages with their visualizations.

Beginning our paintings!


Love!!!

Hard at work.

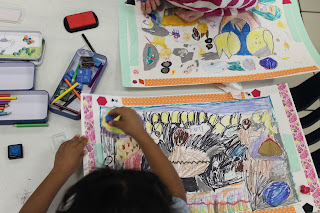
We used glitter watercolor crayons- messy.....but wonderful.


Finishing our paintings by addressing the border and getting them ready to present.