
 | ||||||
| One of my all-time favorite books!! We talked about what an architect is and I explained that we would be pretending we are architects during the next weeks. We had a discussion about the types of buildings we see in our communities. They chose a building type they would want to design and then completed research to find out more about their building category. |
 |
| Kindergarten research papers complete, along with preliminary sketches. |

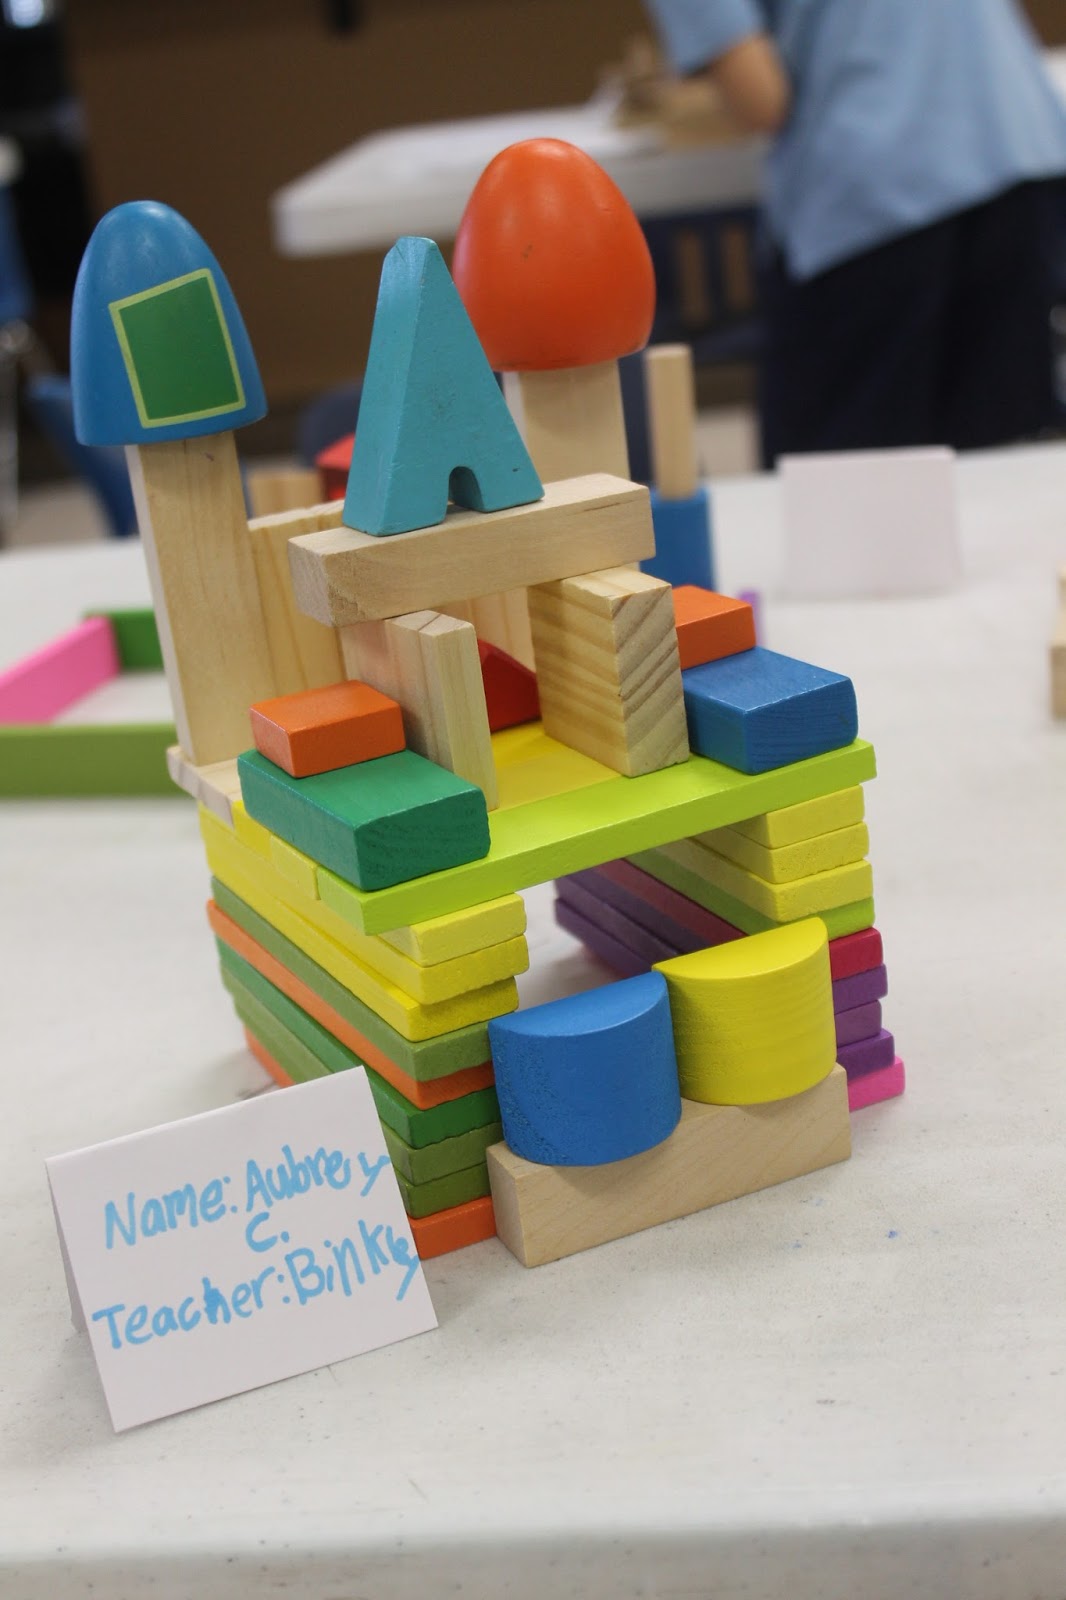 |
| Next, we attempted to build our building out of blocks. |
 |
| So cool! |
 |
| I photographed each of their buildings to use for reference later. |


 |
| Now we used the photographs for observational drawing. I wanted them to eliminate the background so they could focus on the building only. This was a great opportunity to talk about background, foreground and subject. They took black Sharpies and "blacked out" the entire background. |

 |
| They carefully studied their building photographs and replicated what they saw in their photo. |
 |
| Good stuff!! |

 |
| Now we start to use what we previously learned to make our drawings 3d! They painstakingly traced their drawing first in red, then we moved the paper slightly, then they traced it again in blue. We are on our way to special effects!! |


 |
| I love!!!! |


 |
| Tracing is complete- let's add color! At this point they wore their glasses off and on, checking to make sure their drawing was giving them the 3d effect they desired. I loved the process of continuously checking. |


 |
| I know you can't see it online but, with 3d glasses on, this looks like it is really popping out at you! |


No comments:
Post a Comment